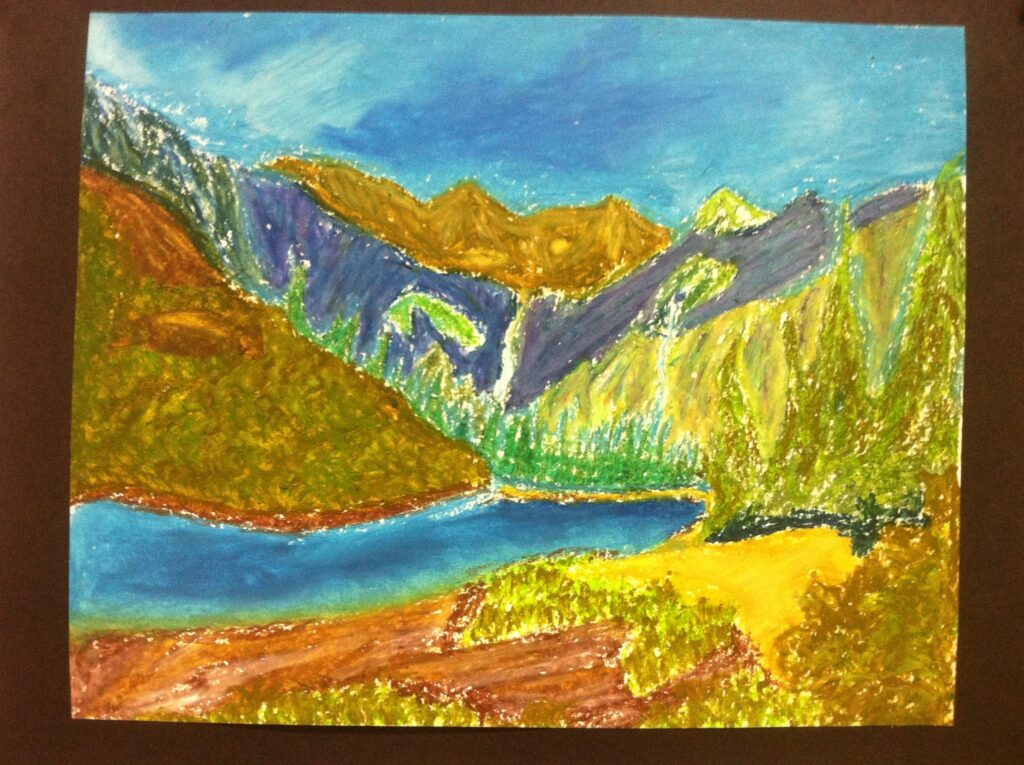
Mastering the Art of Oil Pastel Landscapes: A Comprehensive Guide
Creating captivating oil pastel landscapes is a rewarding artistic endeavor, blending the vibrant colors of pastels with the painterly qualities reminiscent of oils. This comprehensive guide delves into the techniques, materials, and considerations necessary to produce stunning oil pastel landscapes that capture the beauty and essence of the natural world. Whether you’re a beginner or an experienced artist, understanding the nuances of oil pastel landscapes will elevate your artistic practice.
Understanding Oil Pastels
Before embarking on your oil pastel landscape journey, it’s crucial to understand the medium itself. Oil pastels are composed of pigment mixed with a non-drying oil and wax binder. Unlike soft pastels, they don’t produce as much dust, and their creamy consistency allows for blending and layering, similar to oil paints. However, they also possess unique characteristics that require a different approach.
- Pigment Richness: Oil pastels boast intense colors due to the high concentration of pigment. This allows for vibrant and expressive oil pastel landscapes.
- Blendability: The oil and wax binder allows for smooth blending, creating seamless transitions and subtle color variations within your oil pastel landscapes.
- Layering Capabilities: You can build up layers of color to achieve depth, texture, and complexity in your oil pastel landscapes.
- Versatility: Oil pastels can be used on a variety of surfaces, making them a versatile choice for artists.
Essential Materials for Oil Pastel Landscapes
Choosing the right materials is paramount to creating successful oil pastel landscapes. Here’s a breakdown of essential supplies:
- Oil Pastels: Invest in artist-grade oil pastels for superior pigment quality, blendability, and lightfastness. Brands like Sennelier, Caran d’Ache, and Holbein are highly recommended. Student-grade options are suitable for practice and experimentation.
- Paper/Surface: Select a paper or surface with sufficient tooth (texture) to grip the oil pastels. Pastel paper, watercolor paper (cold press), and sanded paper are excellent choices. Consider the size of your paper based on the complexity of your desired oil pastel landscape.
- Blending Tools: While fingers are a common blending tool, consider using paper stumps, tortillions, cotton swabs, or even soft cloths for more controlled blending in your oil pastel landscapes.
- Solvent: Odorless mineral spirits or turpentine can be used sparingly to create washes and thin the oil pastels, adding another dimension to your oil pastel landscapes. Use with caution and ensure proper ventilation.
- Fixative: A fixative spray can help prevent smudging and protect your finished oil pastel landscapes. Use sparingly, as excessive use can dull the colors.
- Easel: An easel provides a comfortable and stable surface for working on your oil pastel landscapes.
- Palette: Although not strictly necessary, a palette can be useful for mixing colors and preventing contamination of your oil pastels.
Techniques for Creating Stunning Oil Pastel Landscapes
Mastering various techniques is key to achieving desired effects in your oil pastel landscapes. Here are some essential techniques to explore:
Layering and Underpainting
Layering is a fundamental technique for creating depth and dimension in oil pastel landscapes. Start with a light underpainting to establish the basic composition and values. Gradually build up layers of color, blending and refining as you go. Experiment with different color combinations to create luminous and atmospheric effects in your oil pastel landscapes. [See also: Color Theory for Landscape Painting]
Blending Techniques
Blending is crucial for creating smooth transitions and subtle color variations. Use your fingers, blending stumps, or other tools to gently blend the oil pastels. Experiment with different blending pressures to achieve various levels of smoothness. Consider using a solvent-soaked brush for creating soft, ethereal effects in your oil pastel landscapes.
Scumbling and Impasto
Scumbling involves applying short, broken strokes of color over existing layers, creating texture and visual interest. Impasto is the application of thick layers of oil pastels, creating a raised, textured surface. Both techniques can add depth and dynamism to your oil pastel landscapes, capturing the ruggedness of mountains or the texture of foliage.
Creating Atmospheric Perspective
Atmospheric perspective is the technique of creating the illusion of depth by using lighter values and less saturated colors for distant objects. This technique is essential for conveying the vastness of landscapes in your oil pastel landscapes. Gradually lighten the values and desaturate the colors as you move towards the horizon line.
Working with Values
Understanding value (the lightness or darkness of a color) is crucial for creating realistic and impactful oil pastel landscapes. Use a value scale to identify the range of values in your reference image. Pay close attention to the contrast between light and shadow, as this will create form and depth in your oil pastel landscapes. [See also: Understanding Value in Art]
Choosing a Landscape Subject
Selecting a compelling subject is the first step in creating a captivating oil pastel landscape. Consider the following when choosing your subject:
- Personal Connection: Choose a landscape that resonates with you emotionally. This will make the artistic process more enjoyable and meaningful.
- Compositional Elements: Look for landscapes with strong compositional elements, such as leading lines, focal points, and interesting shapes.
- Value Range: Select landscapes with a good range of values, from light highlights to deep shadows. This will allow you to create depth and dimension in your oil pastel landscapes.
- Color Palette: Consider the color palette of the landscape. Are there vibrant sunsets, lush greens, or muted earth tones?
Step-by-Step Example: Painting a Sunset Oil Pastel Landscape
Let’s walk through creating a simple sunset oil pastel landscape.
- Sketch the Composition: Lightly sketch the main elements of your landscape on your chosen surface. Include the horizon line, any prominent landforms, and the general shapes of the clouds.
- Underpainting: Apply a light underpainting using complementary colors. For a sunset, consider using a wash of orange and blue.
- Layer the Sky: Begin layering the colors of the sunset. Use vibrant oranges, reds, yellows, and purples. Blend the colors smoothly to create a gradient effect.
- Add Clouds: Add clouds using lighter values of the sky colors. Pay attention to the shapes and forms of the clouds, and use scumbling to create texture.
- Paint the Land: Paint the landforms using darker values of browns, greens, and purples. Consider the light source and create shadows accordingly.
- Add Details: Add details such as trees, rocks, or water reflections. Use smaller strokes and sharper edges to create a sense of realism.
- Final Blending and Adjustments: Step back and assess your oil pastel landscape. Make any necessary blending adjustments and add final details to enhance the overall composition.
Tips for Success with Oil Pastel Landscapes
Here are some additional tips to help you create successful oil pastel landscapes:
- Practice Regularly: Consistent practice is key to improving your skills in oil pastel landscapes.
- Study the Masters: Analyze the works of master landscape painters to learn about composition, color, and technique.
- Experiment with Techniques: Don’t be afraid to experiment with different techniques and approaches.
- Use High-Quality Materials: Investing in high-quality oil pastels and surfaces will significantly improve your results.
- Embrace Mistakes: Mistakes are a natural part of the learning process. Learn from your mistakes and keep creating.
- Work from Life: Painting en plein air (outdoors) can provide invaluable experience and inspiration for your oil pastel landscapes.
Preserving and Displaying Your Oil Pastel Landscapes
Once you’ve completed your oil pastel landscape, it’s important to preserve and display it properly.
- Fixative: Apply a light coat of fixative spray to protect the surface from smudging.
- Framing: Frame your oil pastel landscape behind glass or acrylic to protect it from dust and damage.
- Storage: Store your oil pastel landscapes in a cool, dry place away from direct sunlight.
Creating oil pastel landscapes is a rewarding and fulfilling artistic journey. By understanding the materials, mastering the techniques, and practicing regularly, you can create stunning works of art that capture the beauty and essence of the natural world. Embrace the process, experiment with different approaches, and enjoy the vibrant colors and textures of oil pastels.
